

Recording Size and Background
Build a setting that fits your video
Choose a built-in or custom image, then tune the screen recording's size, corners, blur, and shadow.
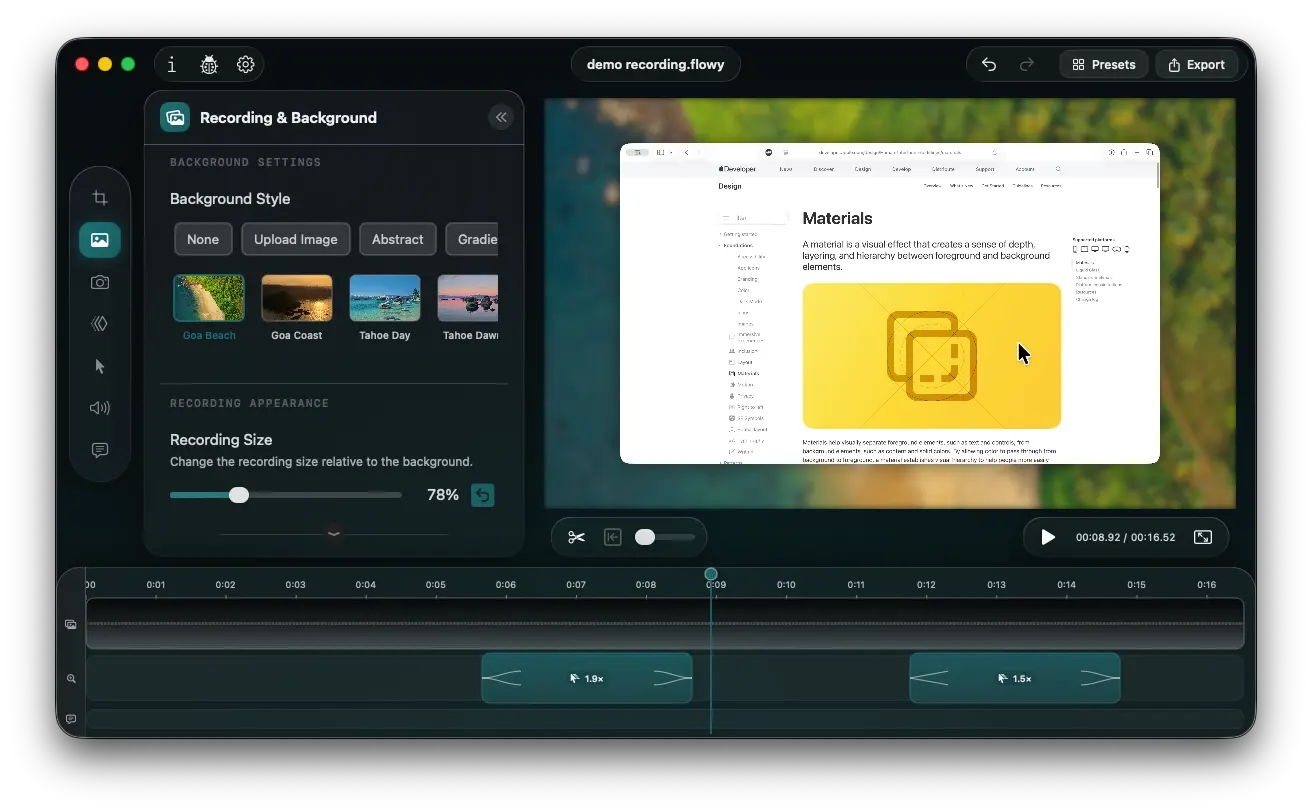
Choose a built-in image
Pick a preset, then adjust how the recording sits against the canvas.
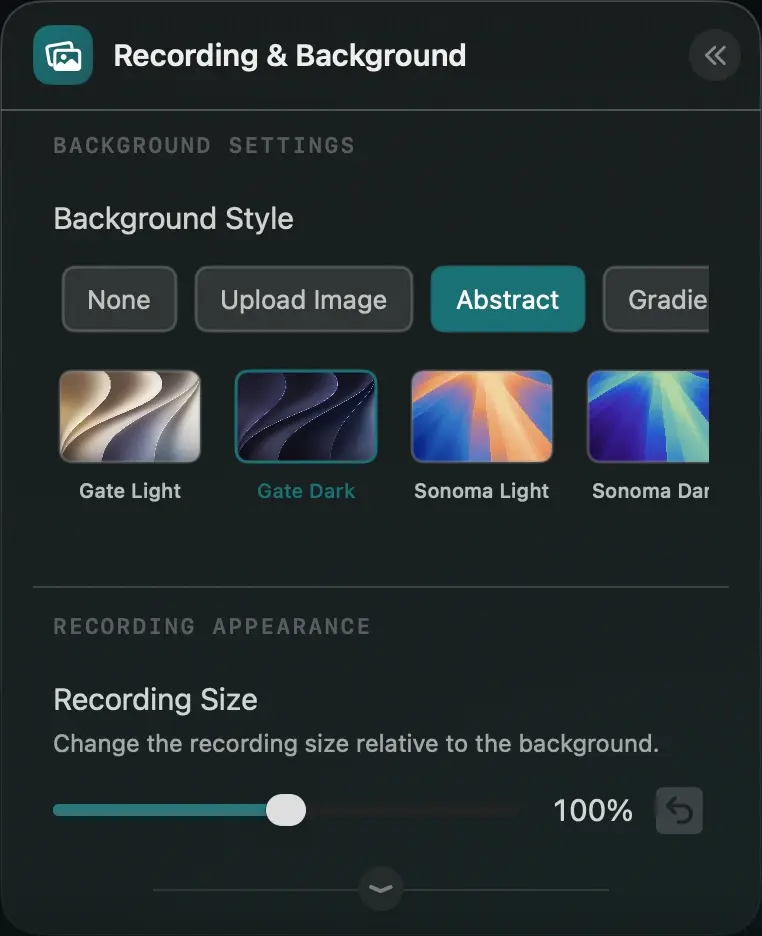
1. Choose a background
In the Background Style section you can find predefined images:
- Landscapes: scenes such as Goa Beach, Mesa Arch, and Tahoe.
- Cityscapes: city images such as Dubai and NYC.
- Abstract: artwork such as Sonoma and Rose Drift.
- Gradients: different color gradient options.
- None: no image; the base canvas stays black (not transparent).
Choose a category, then select a thumbnail in the image row. The row scrolls horizontally when more images are available.The image fills the canvas, so very wide or tall images may be cropped at the edges.
2. Set the recording size
Under Recording appearance, drag Recording Size from 50% to 150%. At 100%, the screen recording is at its normal scale. Reduce it to expose more background around the frame, or increase it for a tighter crop. The reset button returns the value to 100%.
...or upload your own image
Use your own PNG, JPEG, or HEIC as the background.
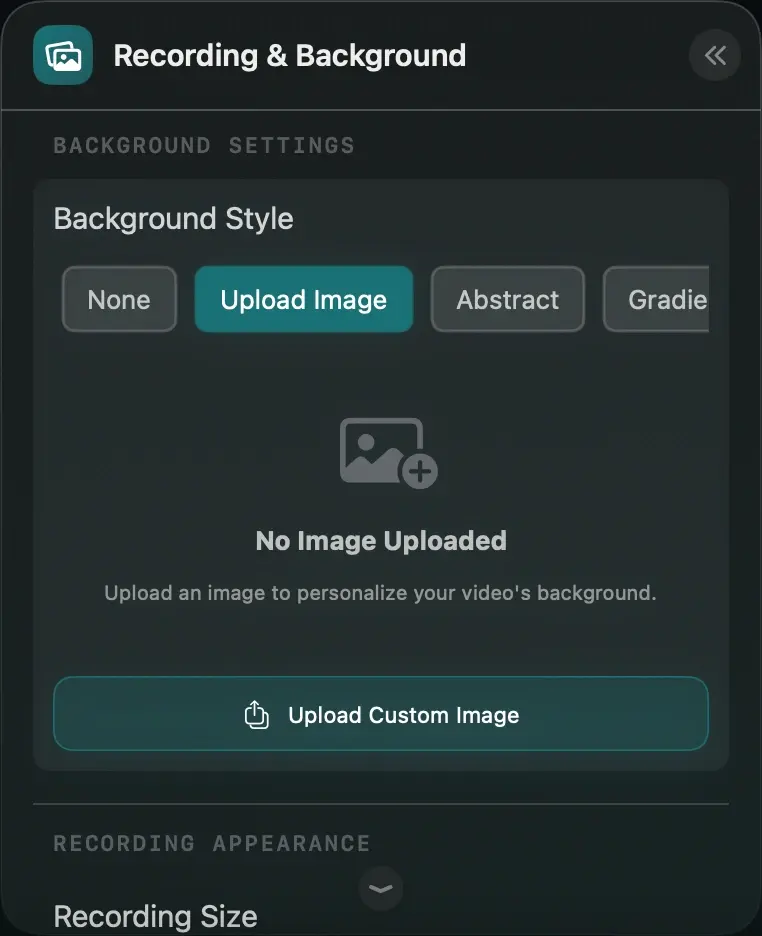
3. Upload your own image
- Select Upload Image in the background style row.
- Choose Upload Custom Image, then select a PNG, JPEG, or HEIC file.
- Check the preview and adjust the recording size to reveal as much of the image as you want.
Your project will remember the image as long as it's not deleted. Of course, you can change or remove the custom image.
Refine the screen frame
Tune the edges, soften the backdrop, and add depth with a shadow.
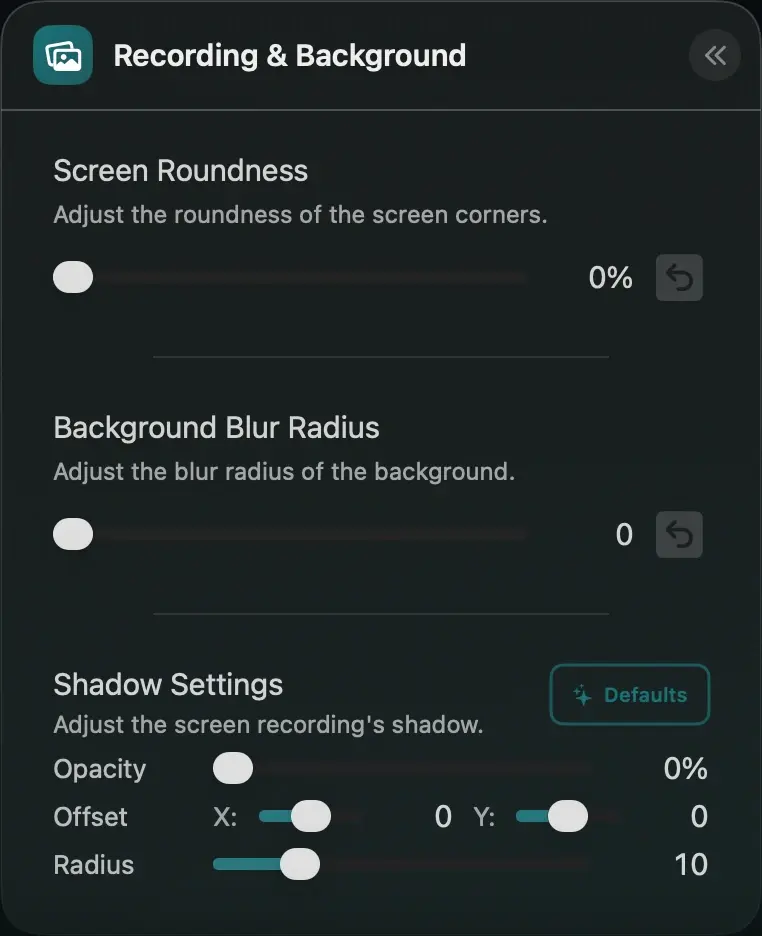
4. Soften the screen corners
Use Screen Roundness to move from square corners toward a smoother frame. The control ranges from 0 to 50.
5. Adjust background blur
Background Blur Radius softens the image behind the screen recording. Drag from 0 (sharp) up to 50 (stronger blur). This makes the recording stand out against the background.
6. Tune the screen shadow
Shadow Settings sets the shadow behind the screen recording layer. Adjust Opacity from 0 to 100%, move the shadow with the X and Y offsets (-20 to 20), and soften it with Radius (0 to 50). Choose Defaults to set flowy's suggested shadow values.