
Getting Started with flowy
First Steps
Follow these simple steps for a quick app setup. Screenshots below illustrate each step.
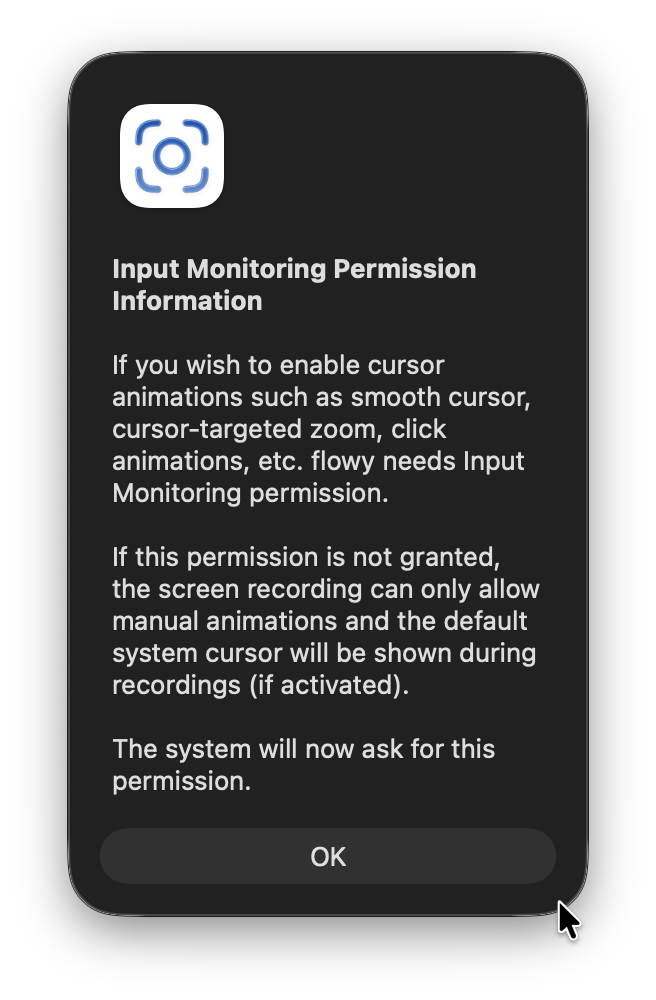
Open flowy: At the first launch, an informative pop-up will appear, providing an explanation for the accessibility permissions that flowy requires. Press 'OK' to continue.
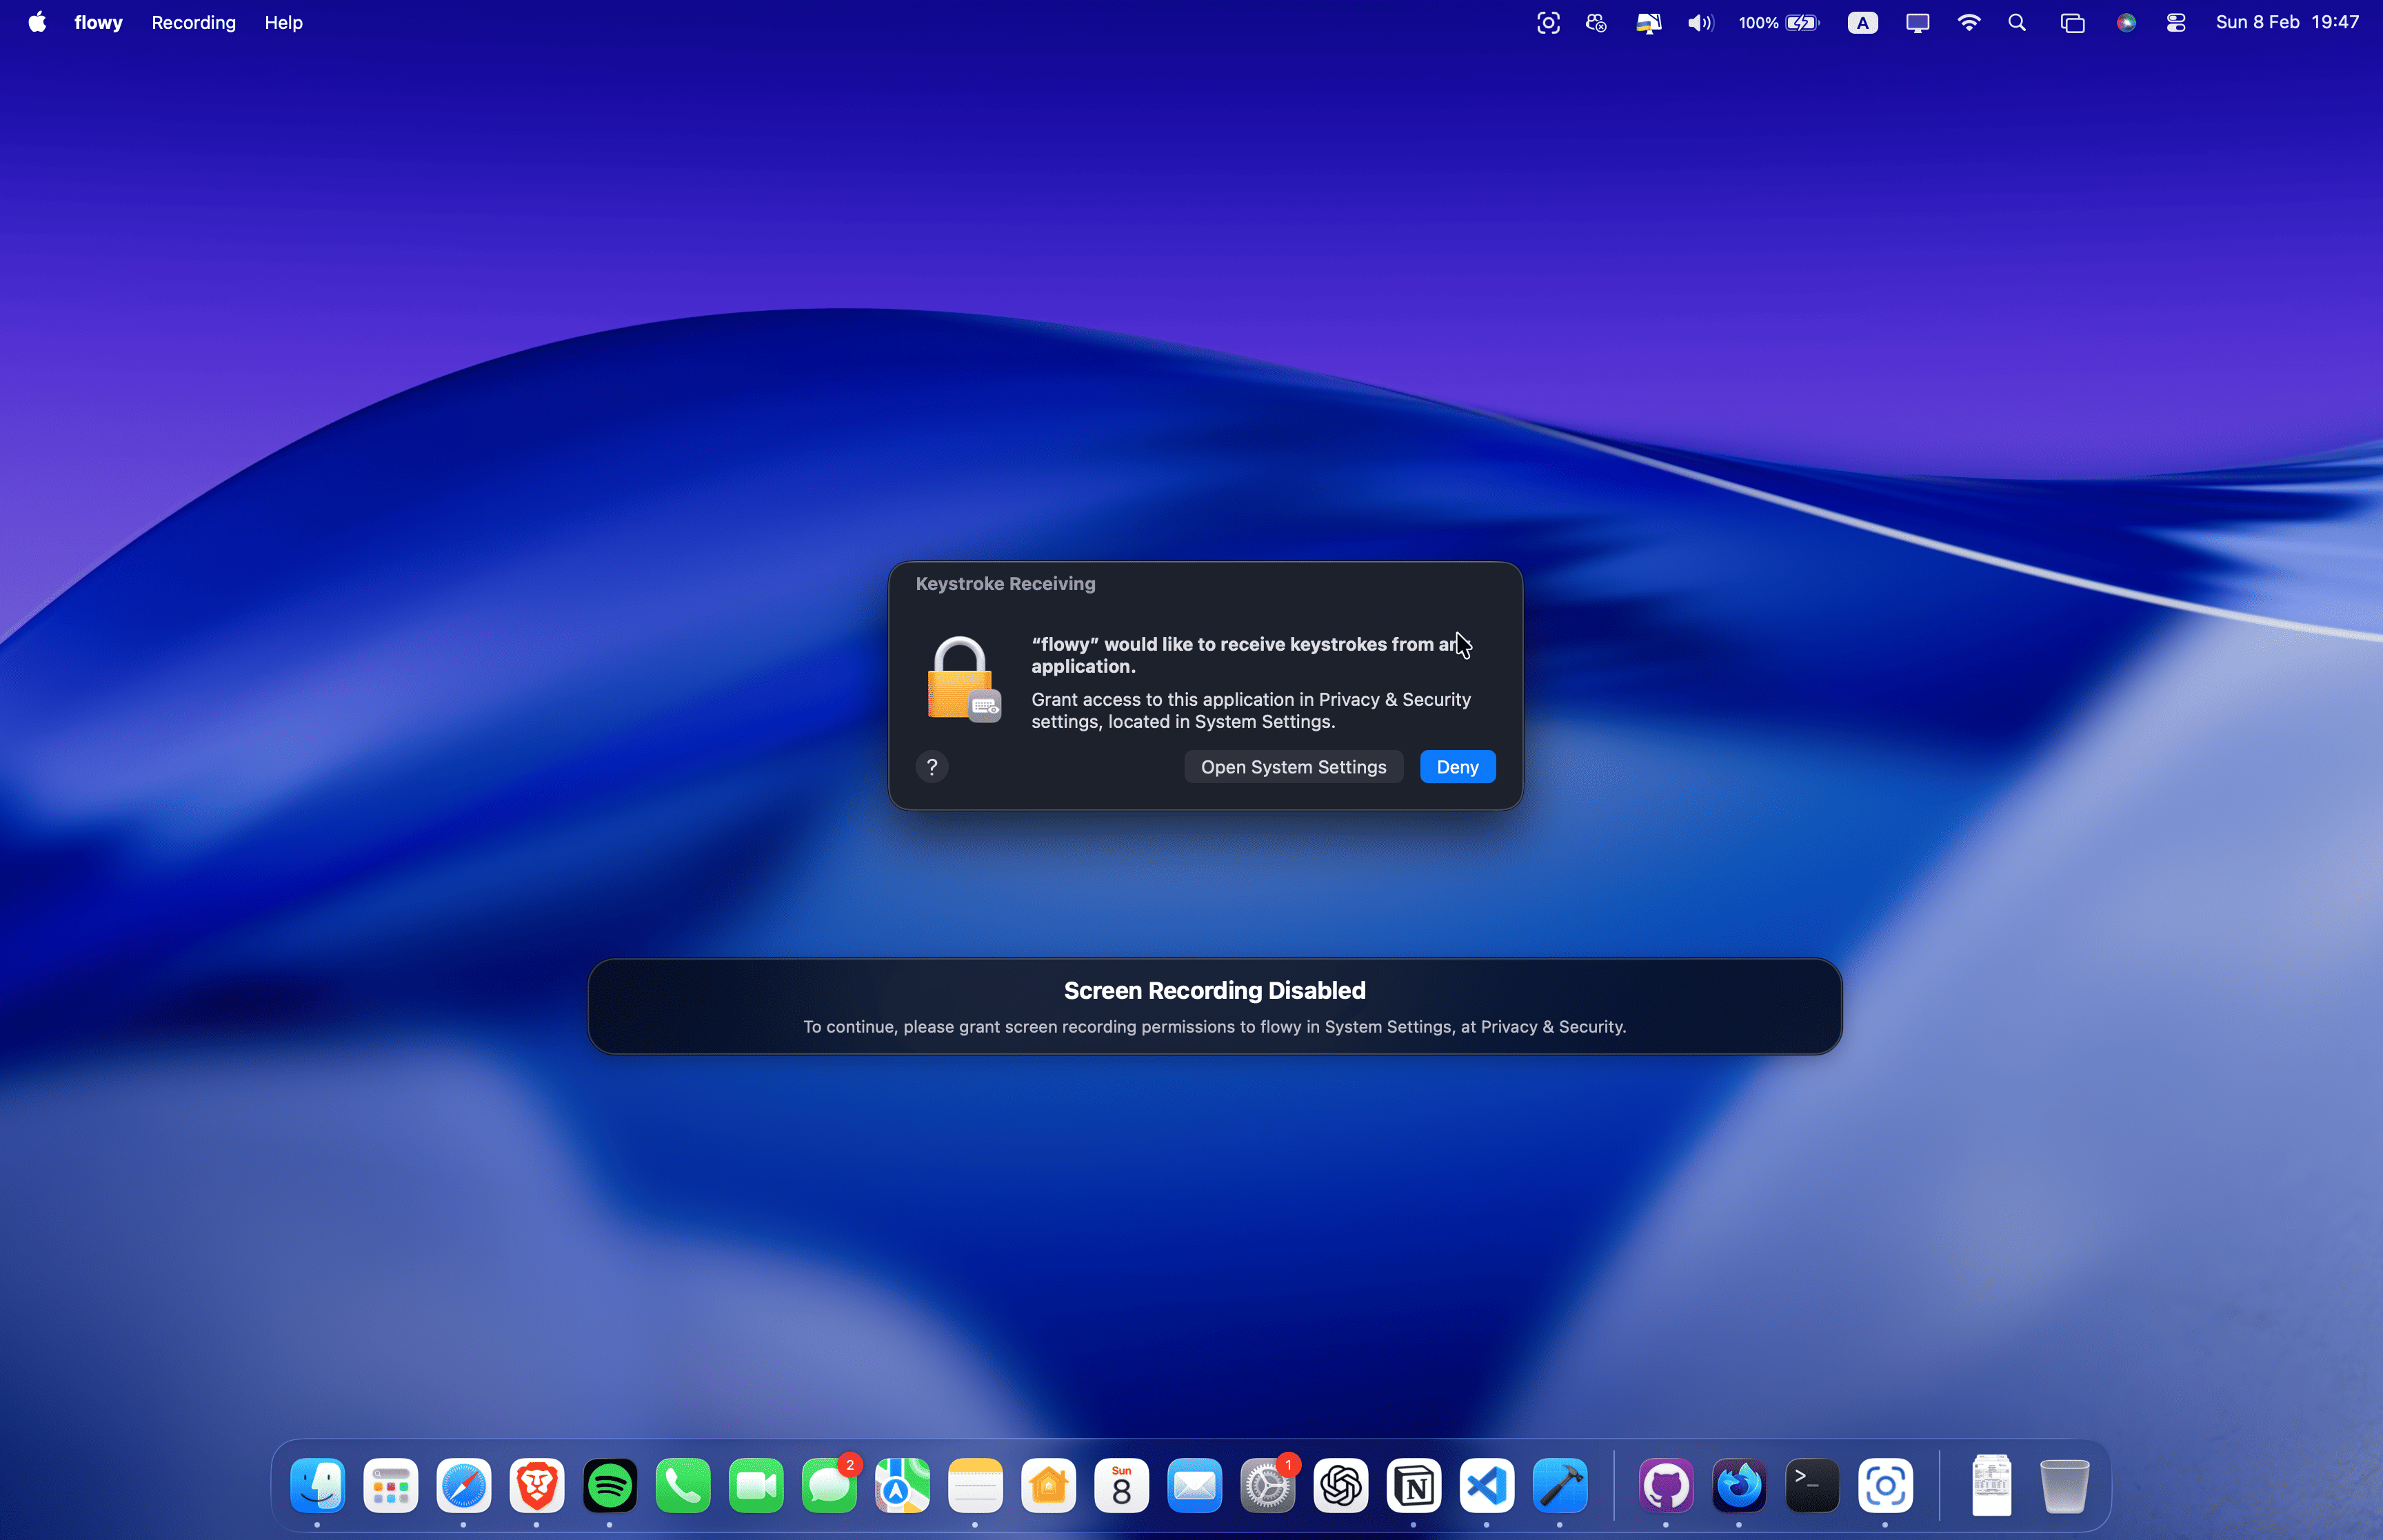
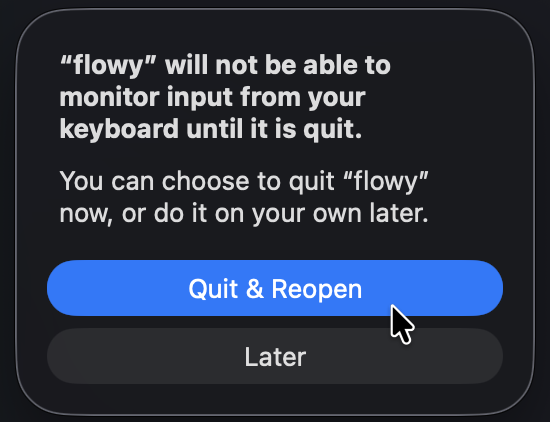
Input Monitoring: After flowy's informative pop-up, this permission request will appear. To continue, you would need to press 'Open System Settings'.
Settings: The settings app will appear, and you would need to toggle on the permission for flowy.

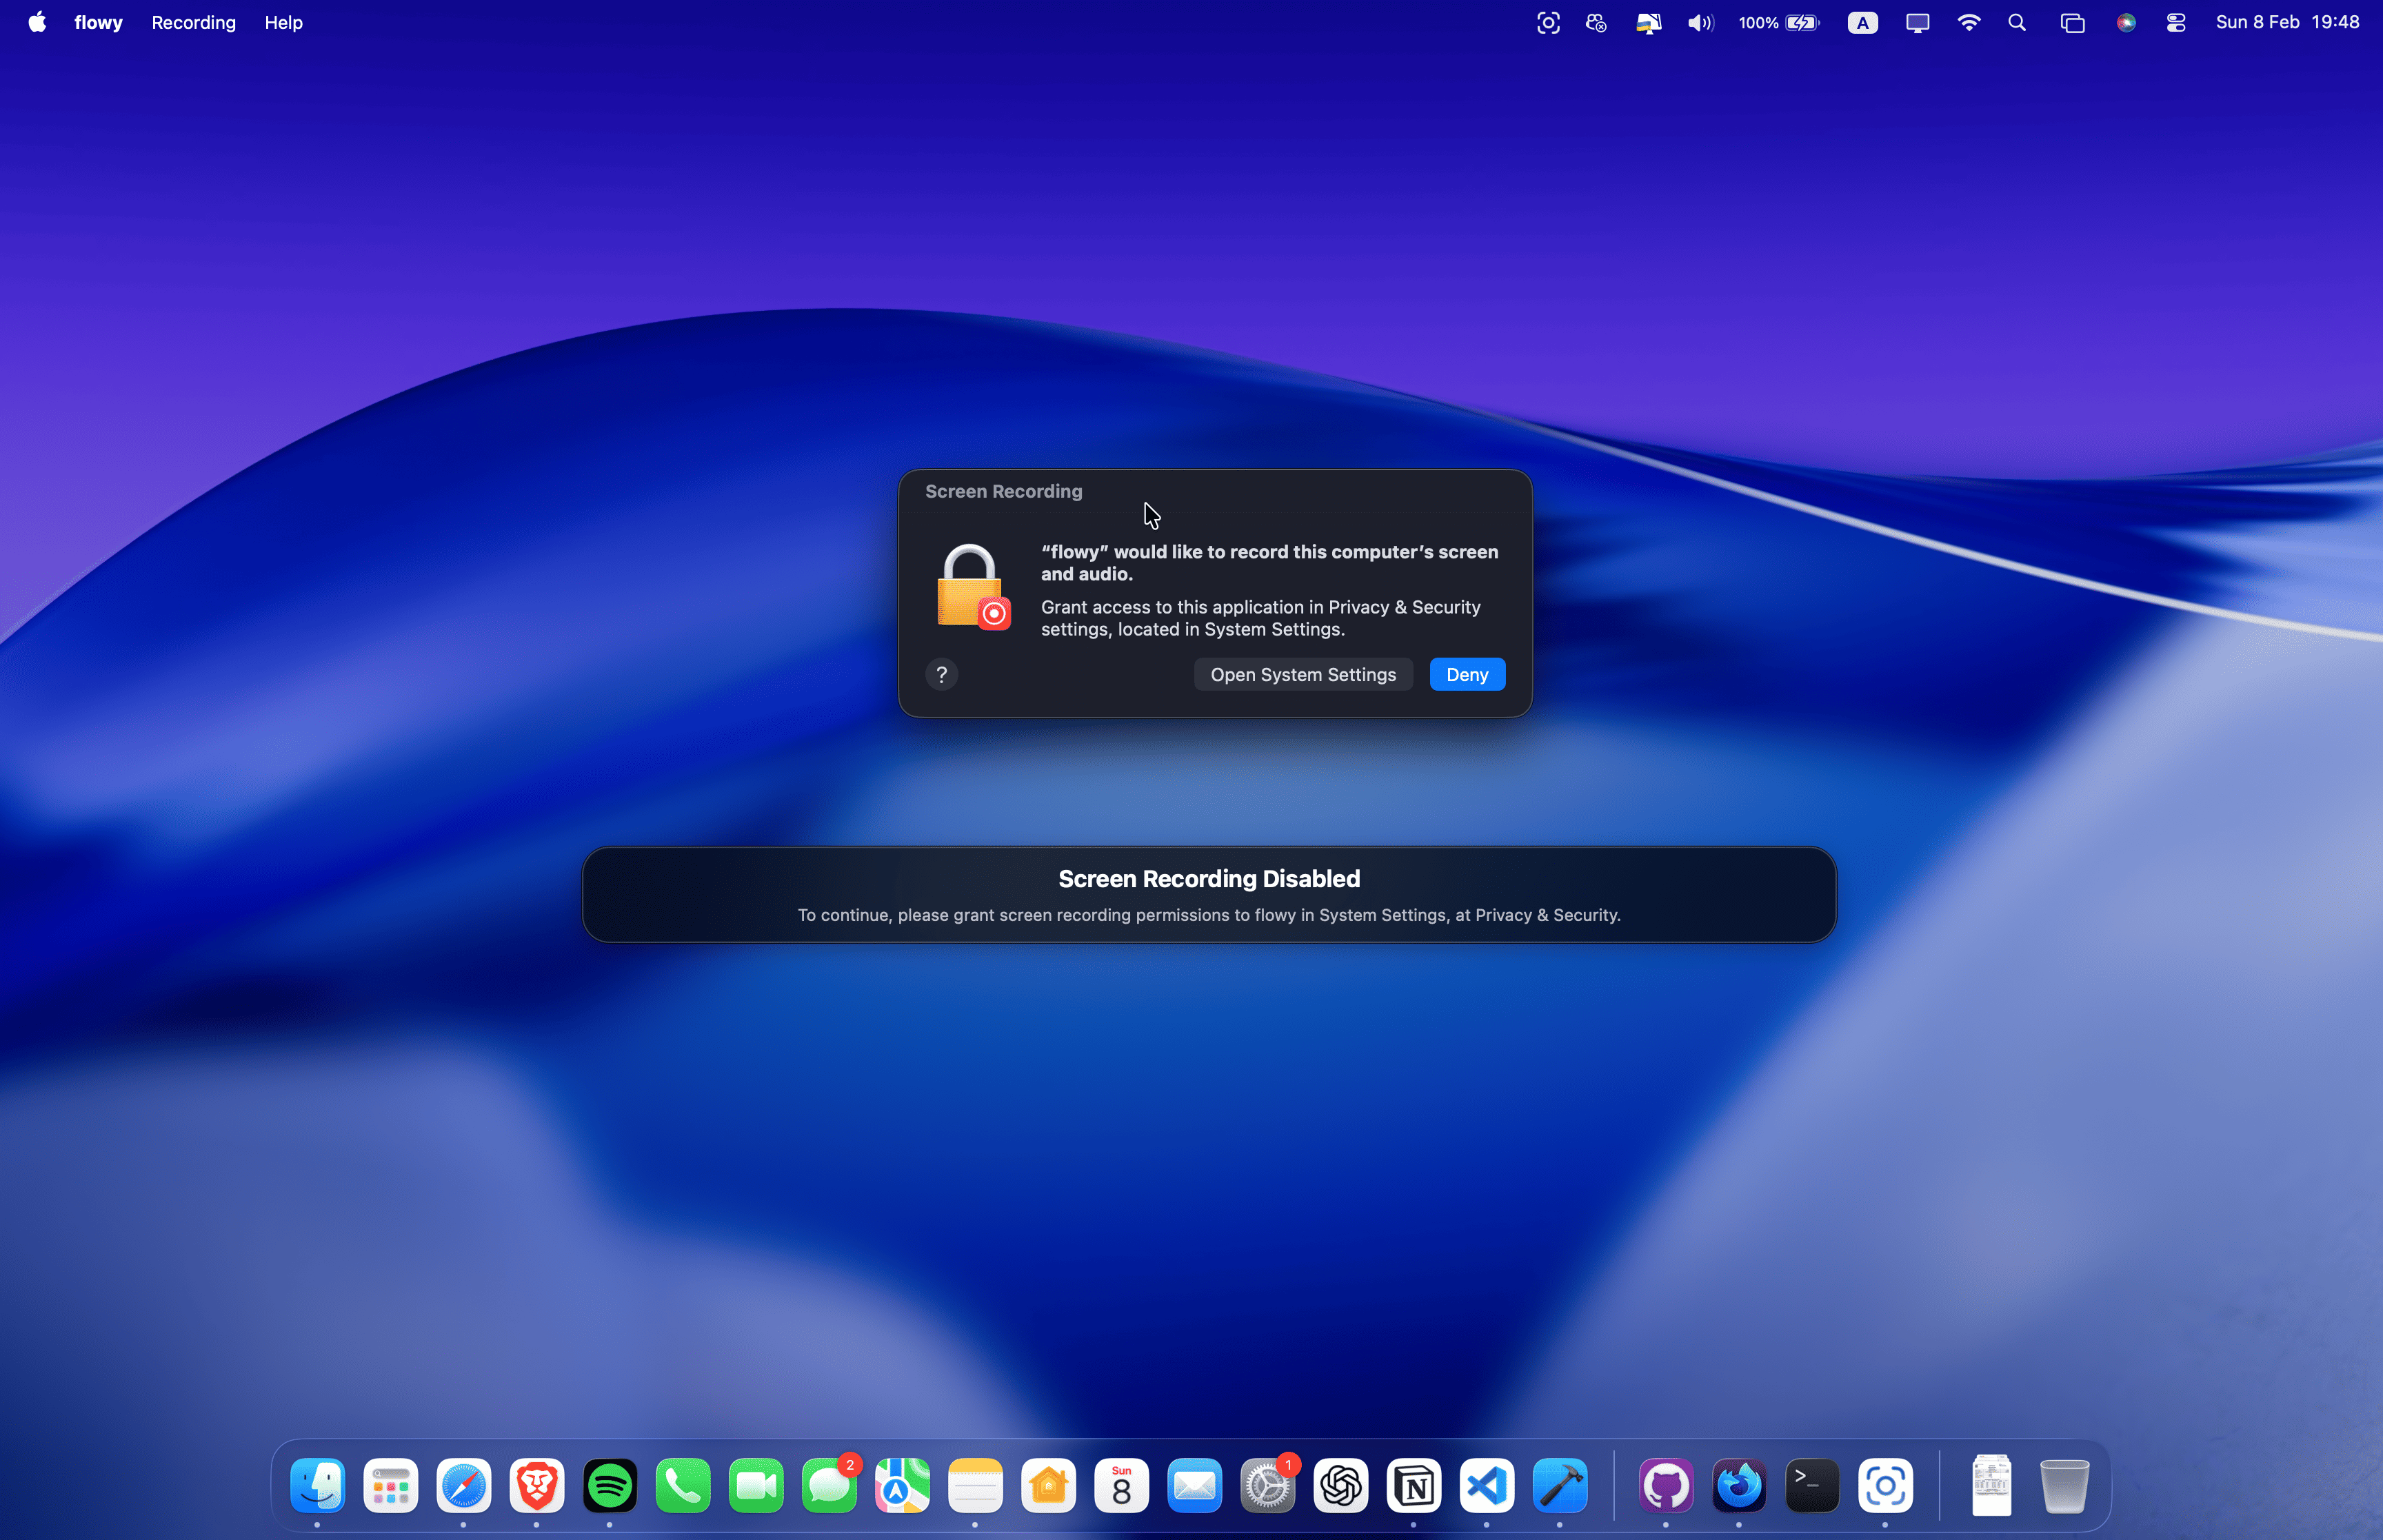
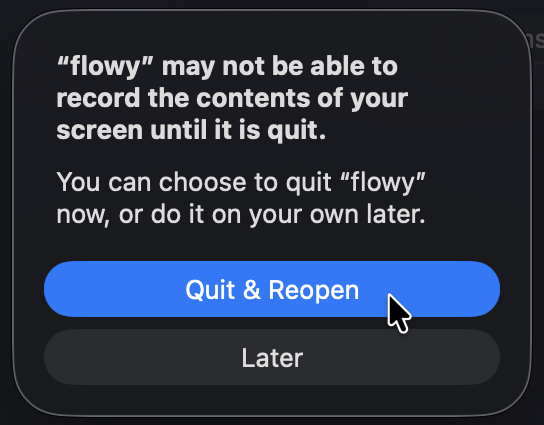
Screen Recording: After restarting, the second permission request will appear. To continue, you would need to press 'Open System Settings'.
Settings: The settings app will appear, and you would need to toggle on the permission for flowy.

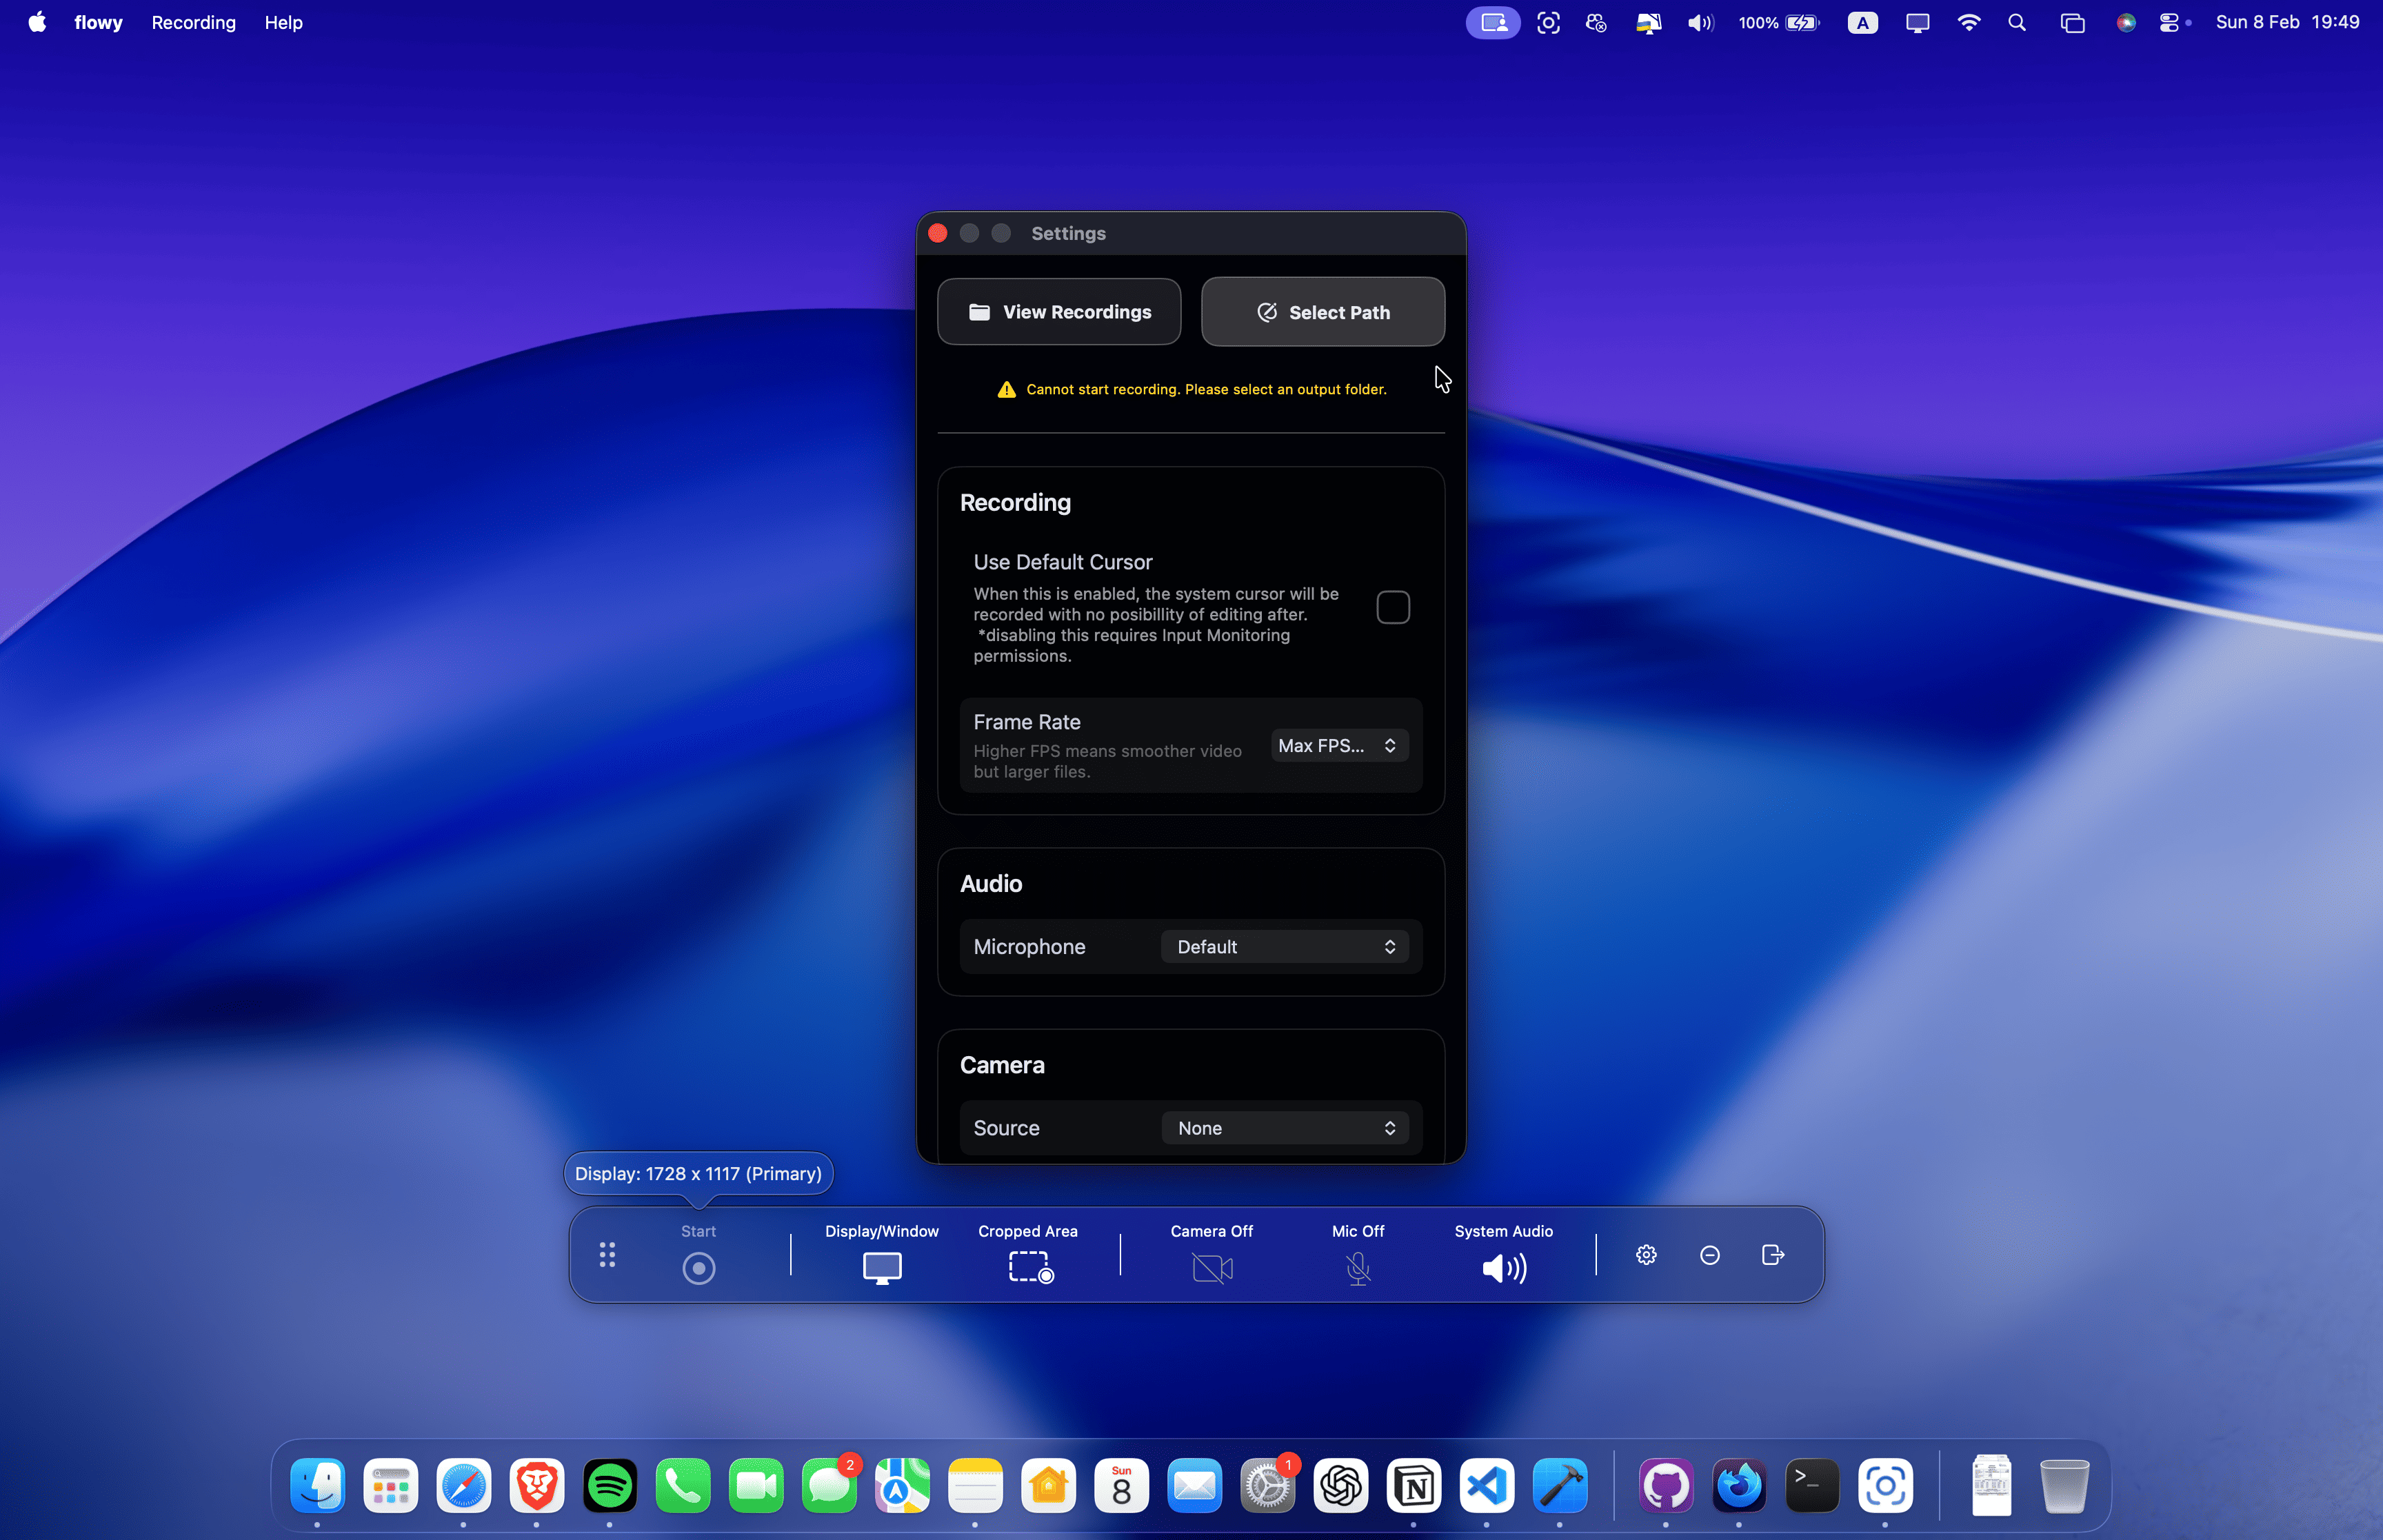
Select Path: After restarting, flowy is nearly ready to use. You need to select the directory where your recordings will be saved, and you can do that by clicking on the "Open Settings".

Setup Complete
Everything is correctly set up. You are ready to go: select the recording area (window, display or crop) and start recording.